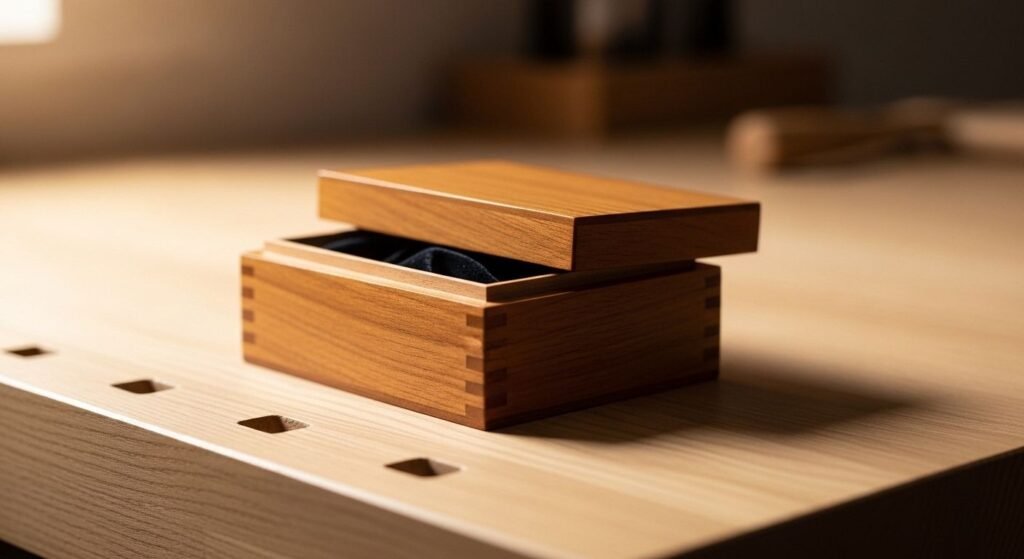
Keepsake Box Plan (Small Box, Big Gift)
A small keepsake box is one of the most “giftable” builds you can make. You can keep it super simple (but still beautiful) with clean cuts and careful sanding.
This plan focuses on an easy build with beginner-friendly joinery.
What You’ll Build
- A small lidded box for keepsakes
- Simple butt joints (easy mode)
- Optional decorative upgrade (advanced)
Skill Level + Time
- Skill: Beginner
- Time: 2–4 hours (plus finish time)
- Tools: saw + drill + clamps (recommended)
Finished Size (Imperial)
Target finished size:
- 8″ L x 5″ W x 3″ H
You can scale up/down later.
Cut List (Imperial)
Using 3/4″ thick wood:
- Bottom: 8″ x 5″ x 1/4″ (plywood or thin panel)
- Long sides (2): 8″ x 3″ x 3/4″
- Short sides (2): 3 1/2″ x 3″ x 3/4″
- Lid top: 8″ x 5″ x 1/4″ (thin panel)
- Lid frame strips (optional): 3/4″ wide strips
Note: If you don’t want a framed lid, use a solid lid panel instead.
Materials
- Wood glue
- Clamps (strongly recommended)
- Small hinges (optional)
- Small latch (optional)
- Finish: oil + wax, or clear coat
Step-by-Step Build (Easy Joinery)
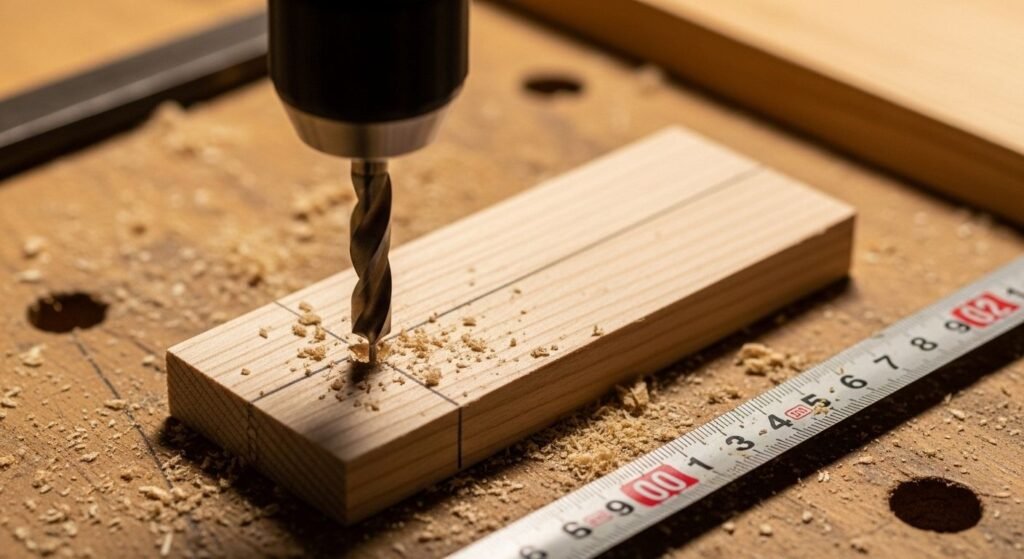
1) Cut Pieces Cleanly
Accuracy matters in boxes. Cut slowly and measure twice.
2) Dry Fit
Assemble without glue first. Check squareness.
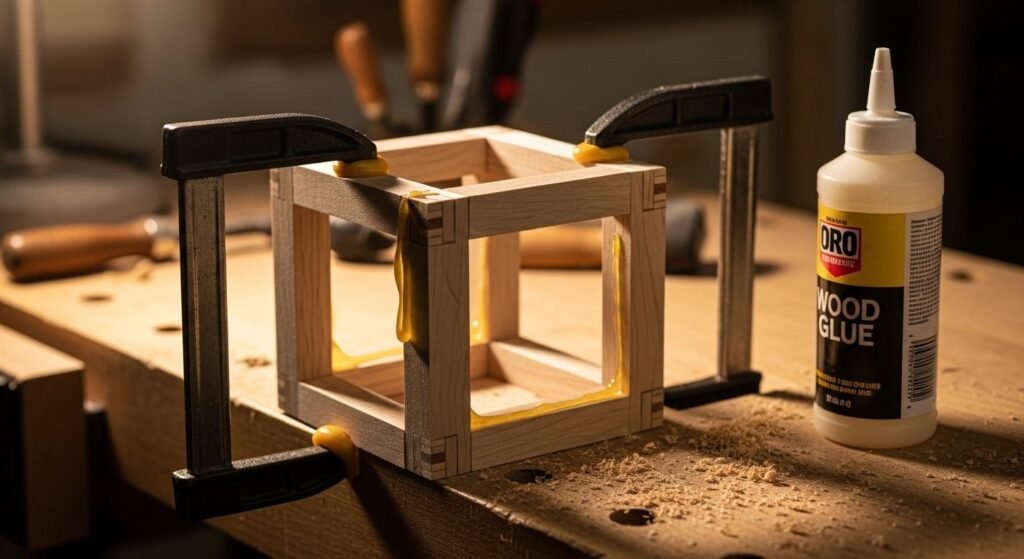
3) Glue + Clamp
Glue the sides into a rectangle. Clamp and check the corners are square.
4) Install Bottom Panel
You can:
- Glue the bottom panel directly under the box (simplest), or
- Cut a small inside ledge (more advanced)
5) Make the Lid
Two options:
- Simplest: a flat lid panel that rests on top
- Better: a lid with a small frame/edge so it “locks” into place
6) Sand + Finish
Sand 120 → 180 → 220.
Apply finish and let cure properly.
Download Plan + Cut List
Download: (add your file link here)
Watch the Short Build Video
Video: (add your video link here)
FAQ
What’s the easiest wood to use?
Pine works. Poplar is a great upgrade. Hardwood is premium.
Do I need hinges?
No. A lift-off lid is simplest.
How do I make it look expensive?
Clean sanding + nice finish. That’s 80% of it.