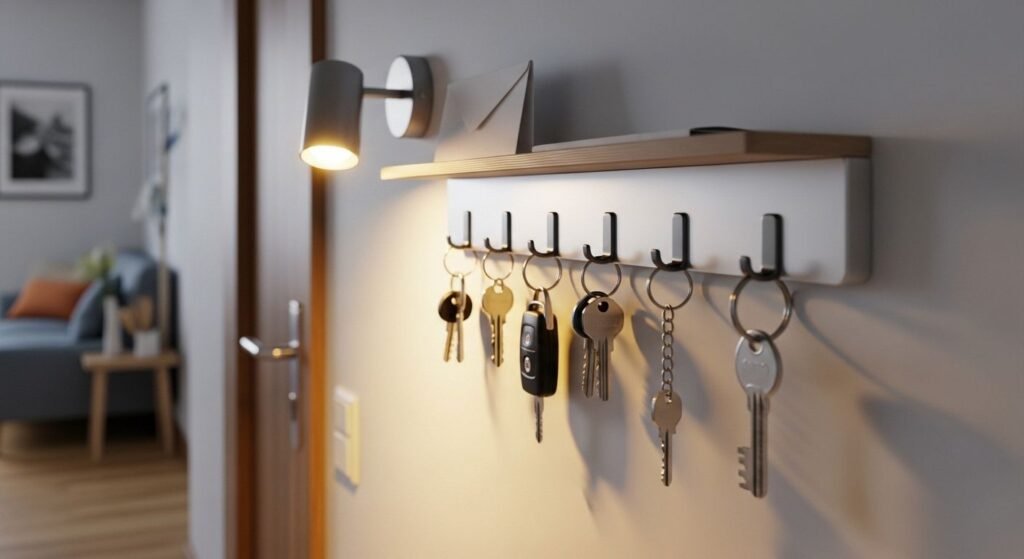
Key Holder Rack Plan (Wall Project)
This is a perfect small “gift build” because it’s functional, looks great on the wall, and it’s forgiving: basic cuts, simple drilling, and a clean finish.
You can build it with only a saw + drill.
What You’ll Build
- A small wall rack with 4–6 hooks
- Optional top ledge for mail
- Simple mounting (keyhole slot or screws)
Skill Level + Time
- Skill: Beginner
- Time: 60–120 minutes
- Tools: saw + drill + sander
Cut List (Imperial)
Standard Version (Recommended)
- Backboard: 16″ x 4″ x 3/4″
- Top ledge (optional): 16″ x 1 1/2″ x 3/4″
- Small front lip (optional): 16″ x 3/4″ x 3/4″
Hooks
- 4 hooks for minimal
- 6 hooks for “family mode”
Hardware + Materials
- 4–6 wall hooks (screw-in style)
- Wood glue (if adding ledge)
- Screws for mounting OR keyhole hangers
- Finish: stain + clear coat or paint
Step-by-Step Build
1) Cut the Backboard
Cut to 16″ length and sand edges.
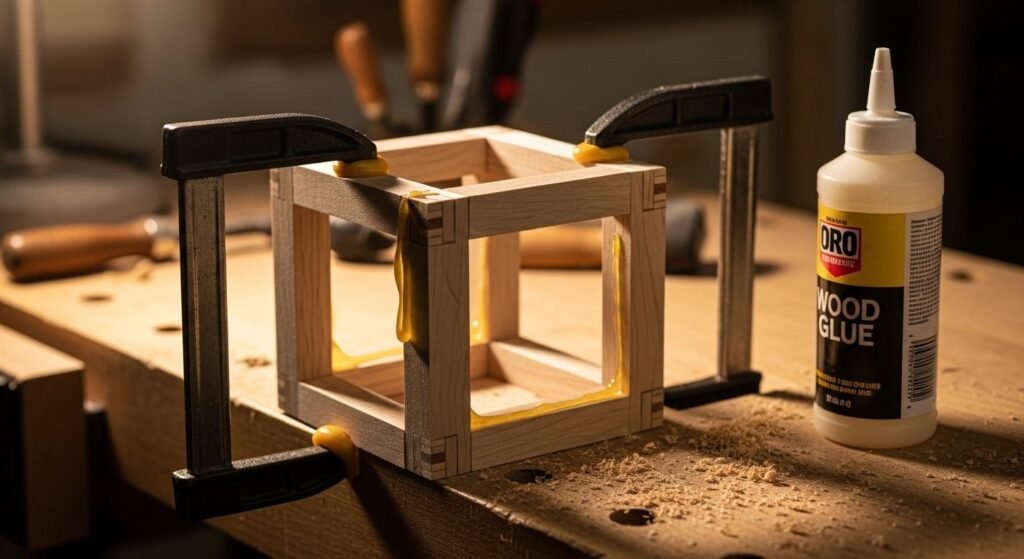
2) Add the Top Ledge (Optional)
Glue + clamp the top ledge on the backboard.
If you want it stronger: add a couple small brad nails.
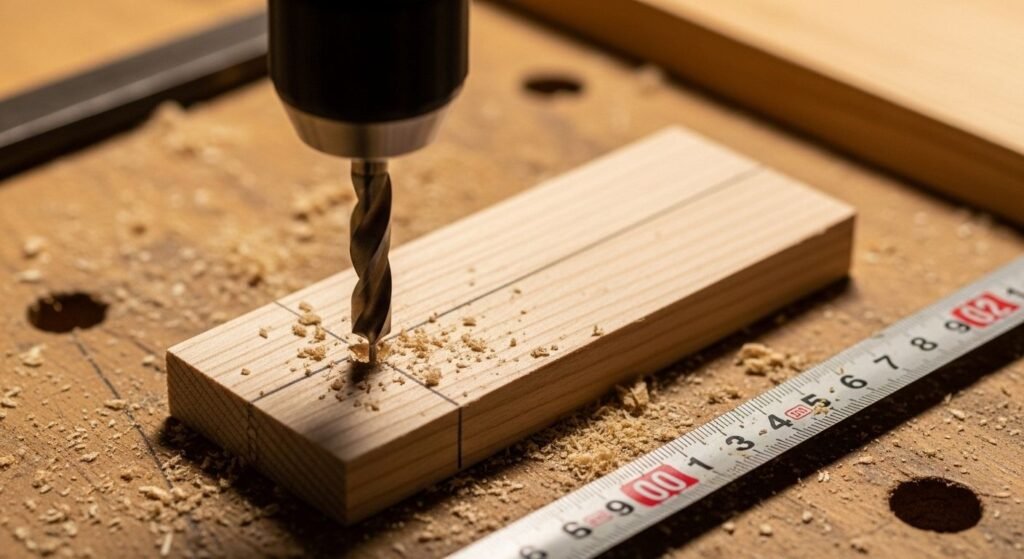
3) Mark Hook Positions
Mark a centerline and space hooks evenly:
- 4 hooks: place ~3.5″ apart
- 6 hooks: place ~2.5″ apart
Pre-drill if needed.
4) Install Hooks
Install hooks straight and aligned.
5) Sand + Finish
Sand 120 → 180 → 220.
Finish options:
- Natural wood + clear coat (clean look)
- Dark stain (gift-ready)
- Paint (modern)
6) Mounting
Simplest: two screws into studs.
Cleaner: keyhole hangers on the back.
Download Plan + Cut List
Download: (add your file link here)
Watch the Short Build Video
Video: (add your video link here)
FAQ
Do I need studs?
Best yes. If not, use strong anchors.
What hooks should I buy?
Simple screw-in hooks are easiest and cheap.
Can I make it longer?
Yes—just keep hook spacing even.