A cutting board is one of the best “first wins” in woodworking: fast build, simple cuts, and you end with something useful (or giftable) the same day.
This page gives you a clean step-by-step build, a simple cut list, and a few options depending on the tools you have.
What You’ll Build
- A simple rectangular cutting board
- Rounded edges for comfort
- Optional juice groove (advanced option)
Skill Level + Time
- Skill: Beginner
- Time: 60–120 minutes (plus finish time)
- Tools: basic saw + sander (details below)
Recommended Wood (Easy Mode)
Pick a hardwood if possible. These are common and beginner-friendly:
- Maple
- Walnut
- Cherry
If you only have pine, you can build it for practice, but it won’t last like hardwood.
Cut List (Imperial)
Choose one of the sizes below.
Option A — Small Board (Easy Gift)
- 1 board blank: 10″ x 14″ x 3/4″
Option B — Standard Board (Most Popular)
- 1 board blank: 12″ x 18″ x 3/4″
Option C — Larger Board (Kitchen Workhorse)
- 1 board blank: 14″ x 20″ x 3/4″
Notes
- Thickness can be 3/4″ to 1″.
- If you glue up strips, keep final thickness consistent.
Tools You Need
Minimum:
- Saw (circular saw, table saw, or miter saw + straight guide)
- Sander (or sanding block)
- Clamps (optional but helpful)
- Measuring tape + pencil
- Safety glasses
Nice to have:
- Router + round-over bit (for edges)
- Router + groove bit (for juice groove)
Step-by-Step Build
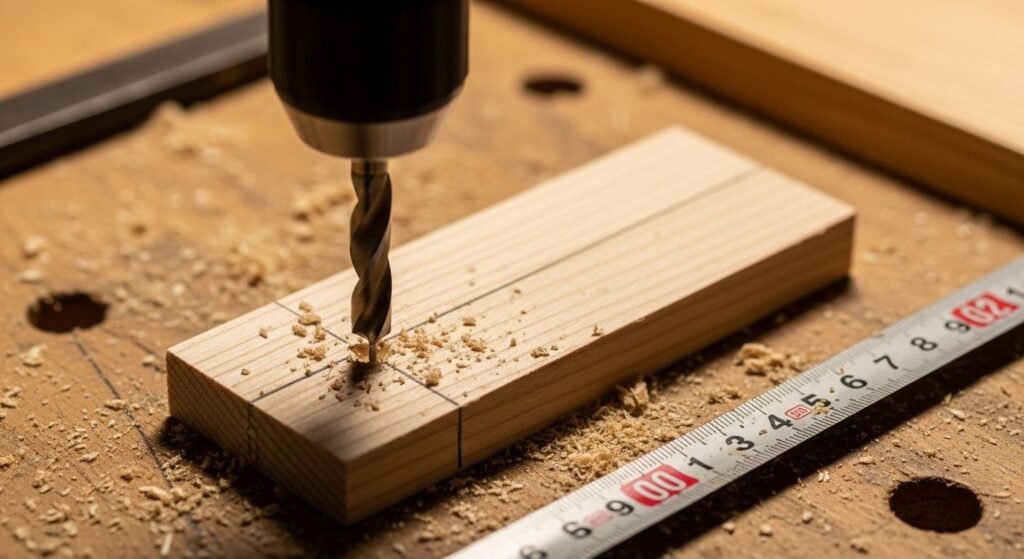
1) Cut to Size
Square the blank and cut to your chosen dimensions. Aim for clean, straight edges.
2) Round the Corners (Optional)
Use a small cup as a template to trace corners. Cut carefully and sand smooth.
3) Sanding (Do This Properly)
Sand in this order:
- 80 grit (shape + remove saw marks)
- 120 grit
- 180 grit
- 220 grit (final)
Wipe dust between grits.
4) Edge Treatment
Simplest: sand edges by hand until comfortable.
Better: use a router with a 1/8″ or 1/4″ round-over bit.
5) Finish (Food-Safe)
Use one:
- Mineral oil (easy)
- Mineral oil + beeswax blend (better feel)
Apply oil, let it soak, wipe off. Repeat 2–3 times.
Care Instructions
- Hand wash only
- Don’t soak
- Re-oil when it looks dry
Download Plan + Cut List
If you have a PDF/printable, link it here.
Download: (add your file link here)
Watch the Short Build Video
Insert your YouTube short link here (once published).
Video: (add your video link here)
FAQ
Can I use pine?
Yes for practice. For real use, hardwood is better.
Do I need a router?
No. You can hand-sand edges.
What’s the best finish?
Mineral oil is the simplest and works well.